Range Cooker Hood Installation Services Overview
Visitors can learn about local contractors who provide range cooker hood installation services and compare options to find suitable professionals.
- - Residential homeowners seeking professional Range Cooker Hood installation services to ensure proper setup and function.
- - Property owners looking to connect with local contractors experienced in kitchen appliance installation.
- - Individuals wanting to compare local service providers for reliable and efficient Range Cooker Hood installation.

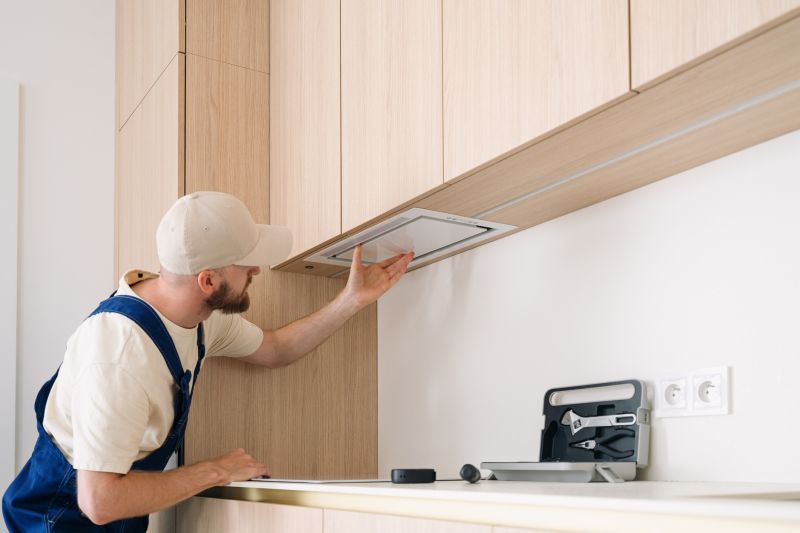

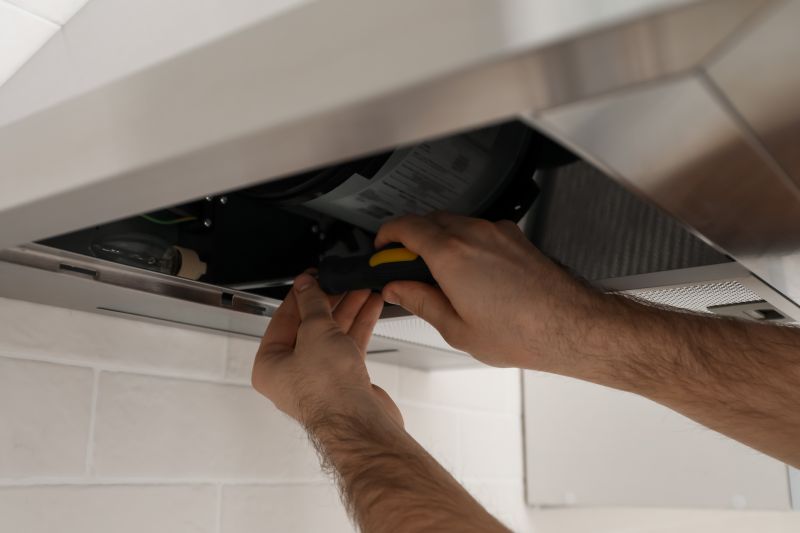
Range cooker hood installation is a specialized service that involves fitting and securing a ventilation system above a cooking range. Property owners seeking this work typically look for experienced local contractors who can handle the precise measurements, secure mounting, and proper integration with existing kitchen setups. These professionals understand the importance of correct installation to ensure effective ventilation, safety, and compliance with building standards. When connecting with local service providers, property owners can expect knowledgeable assistance in planning and executing the installation, whether upgrading an existing system or installing a new range hood.
Local pros offering range cooker hood installation services often work with a variety of kitchen configurations and appliance models. They can assist with tasks such as removing old units, ensuring proper ducting or venting, and securely mounting the hood to maximize performance. Property owners may reach out for help in situations where a new range hood needs to be installed, or an existing one requires repositioning or repairs. These service providers aim to deliver practical, reliable support to help achieve a functional and well-ventilated kitchen space.
This guide helps visitors understand the key factors to consider when planning a range cooker hood installation. It provides information to compare and connect with local service providers who handle the work. The goal is to assist in gathering the basics needed to choose the right local contractor for the project.